Deploying a Docker Image from AWS Elastic Container Registry (ECR)
This guide will walk you through deploying a Docker image from the AWS Elastic Container Registry (ECR).
We’ll use Flightcontrol to deploy a Docker image from the AWS Elastic Container Registry to AWS Elastic Container Service (ECS). Flightcontrol also supports using the Docker Hub image registry and the GitHub Container Registry for pre-built images.
The steps we will follow will be:
- Adding an AWS ECR Image Registry to Flightcontrol
- Creating a Flightcontrol Project
- Automating the Deployment Process
Let’s get started!
Prerequisites
You’ll need the following before you begin:
- A Docker image hosted on Amazon ECR (public or private)
- A Git repository (public or private) with your source code
- An AWS account - Create an account
- A Flightcontrol account - Create an account
Adding an AWS ECR Image Registry to Flightcontrol
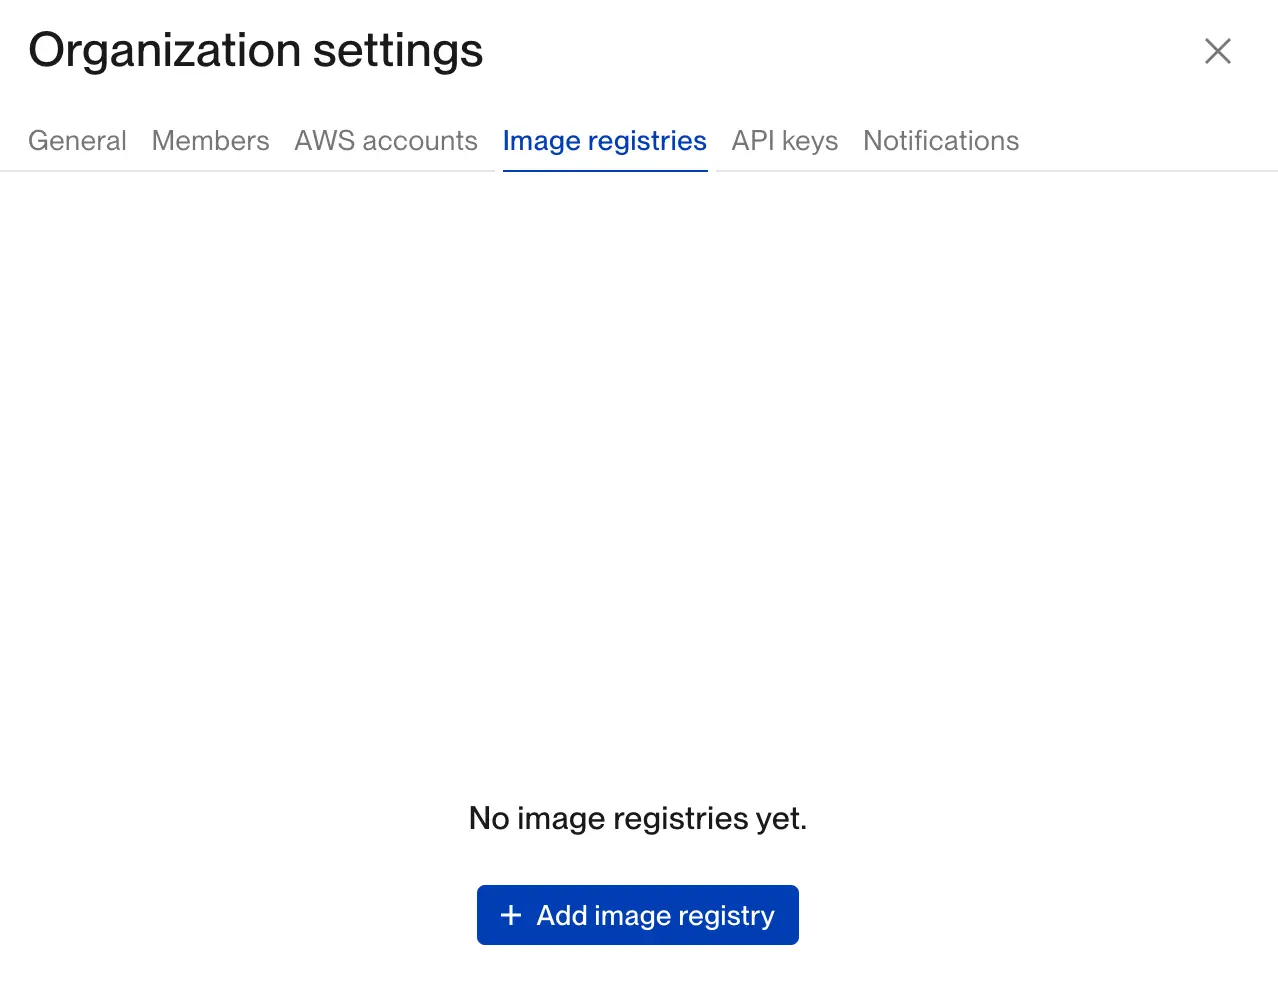
We’ll need to setup our AWS ECR image registry in the Flightcontrol dashboard. Choose Image Registries from the sidebar.
Add an Image Registry
Click the Add an Image Registry button to add a new image registry.
Configuring the Elastic Container Registry
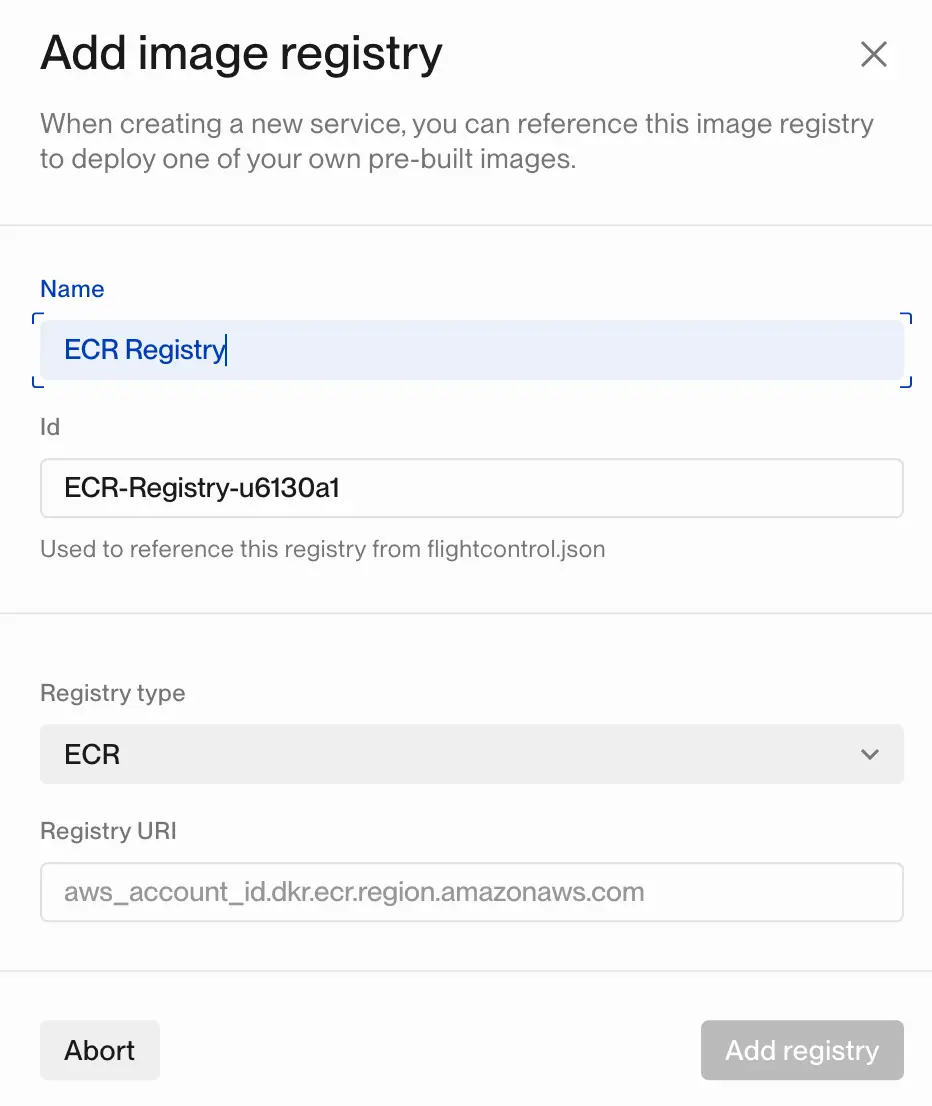
When you add a new image registry, you’ll need to choose the registry type. We’ll pick ECR.
With the Elastic Container Registry type, you’ll need to provide your registry URI. You can find your registry URI in the AWS ECR console. You can also provide a name for this registry that you will remember, such as AWS ECR Registry.
The AWS account that you link this project to in Flightcontrol will need to have access to this image registry, and the image you want to deploy. If this is the same AWS account, everything should work. With different accounts, you may need to do some configuration on the AWS ECR side.
Once you have your AWS ECR image registry added to Flightcontrol, you can deploy your Docker images.
Creating a Flightcontrol Project
To setup the deployment process, create a Flightcontrol project in the dashboard. Choose a Git repository for the project - if you use GitHub, you will need to authorize the Flightcontrol Ops GitHub app to access your repository.
Flightcontrol won’t use the source code to produce a build, but it is possible to use the flightcontrol.json file in the repository for configuration instead of the dashboard. In this Getting Started guide, we are using the dashboard for all configuration.
Adding a Web Server Service
Add a Web Server service to your new project with the Add Web Server button.
Provide a name for the web server service, such as “Node Server”.
The default build type for the Web Server is Nixpacks, so we will need to change the build type to Pull from Image Registry.
After the build type is changed, you’ll see a new set of configuration options. You will need to select the AWS ECR image registry you just created. You need to know the name of the Docker image in that registry, and the tag to deploy, such as latest.
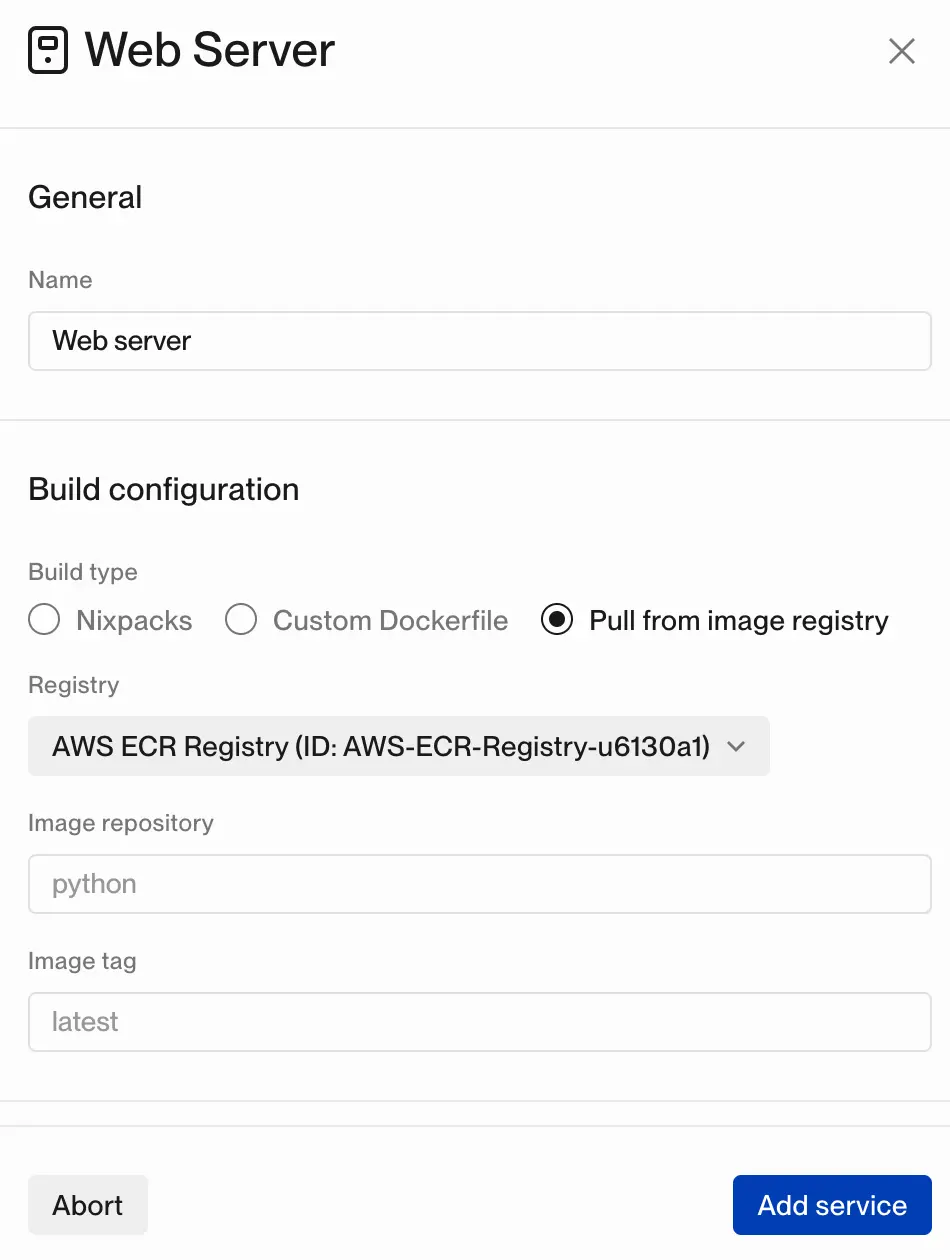
You may also want to provide a descriptive name for your web server service - in the above screenshot, the name is Web server.
Deploying the Project
Configure the rest of the project to add the services you need, such as a database or Redis. You can also add a worker service to run background jobs.
Any environment variables or secrets your project needs can also be configured in the dashboard.
You can create your project with the Create project button.
Flightcontrol will provision a new ECS cluster for your project with your selected ECR image. This may take a few minutes.
The next step will be to make this process fully automated to turn this into a continuous delivery (CD) pipeline.
Automating the Deployment Process
Flightcontrol supports automatically deploying your application when you push a new image to AWS Elastic Container Registry. To do this, you’ll need to create a deploy hook in Flightcontrol, and then trigger the deploy hook when a new image is pushed.
Follow our guide on Automating Docker Deployments to learn how to create a deploy hook and then trigger it from your continuous integration (CI) pipeline.
Conclusion
This guide showed you how to create a continuous delivery (CD) pipeline with Flightcontrol to deploy a Docker image from AWS ECR to AWS ECS. Using the build process you already have, Flightcontrol can manage your AWS infrastructure and deployments.